Overview
Unify is an AddIn for Microsoft PowerPoint. It simplifies the use and helps to design the slides in presentations uniformly.
Installation & Removal
Installation
- Make sure that PowerPoint is closed.
- If you have already installed a version of Unify, this must be uninstalled first.
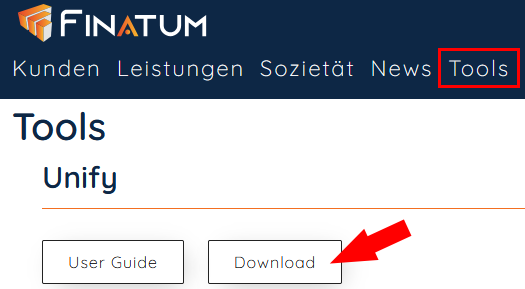
- Download the Unify add-in from our Website.
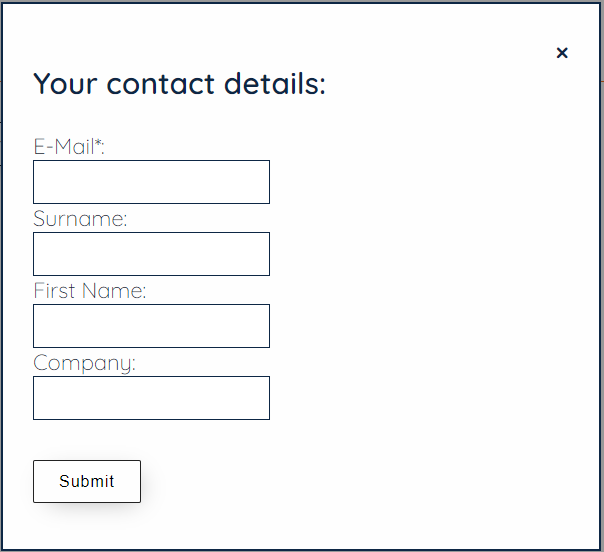
- Enter your email address and optionally your name and company and press “Submit”. Then check your mailbox and, if necessary, your spam folder. Finally, click on the download link.
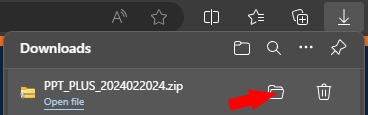
- After the download is complete, click on the folder icon next to the downloaded file. Depending on which browser you use, this view may differ. Alternatively, open explorer and then the download folder or, if you have created a user-defined folder for your downloads, this folder.
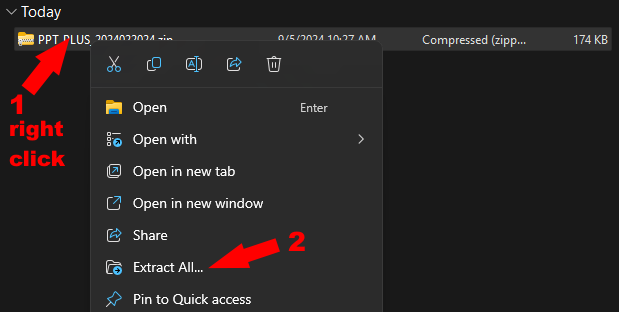
- Right click on the zip folder and then click on "Extract All".
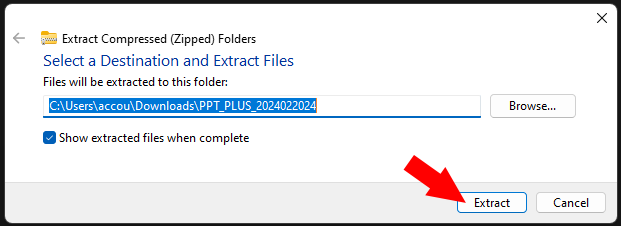
- Click on "Extract".
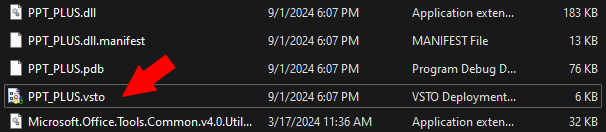
- Open the newly created folder with a double click.
- Execute the file with the file type "vsto" with a double click.
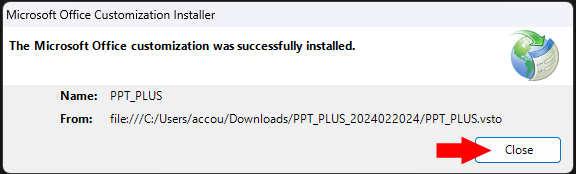
- Once the installation is complete, click "close".
- Now open PowerPoint. When you open a presentation, you should see a new ribbon labeled "Unify". Click on it to use Unify.


Removal
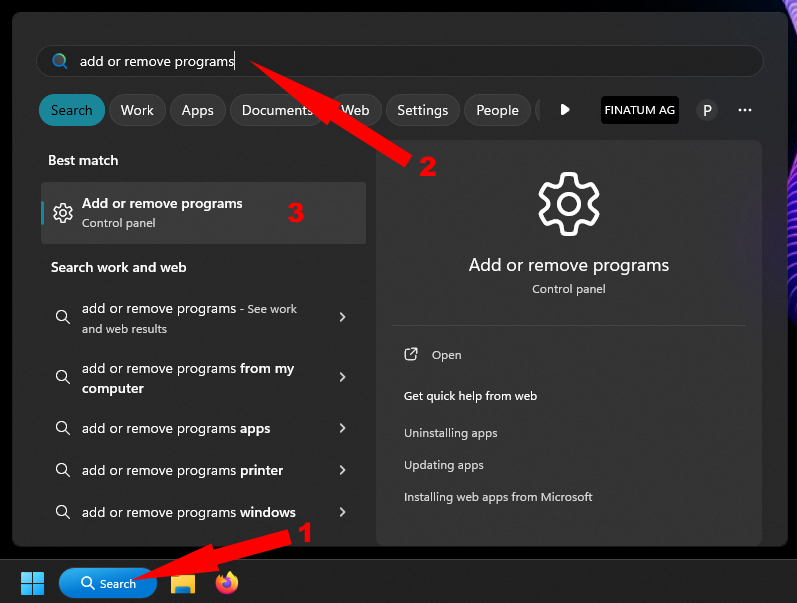
- Click on the search button on the taskbar and search for "add or remove programs". Then click on the first search result.
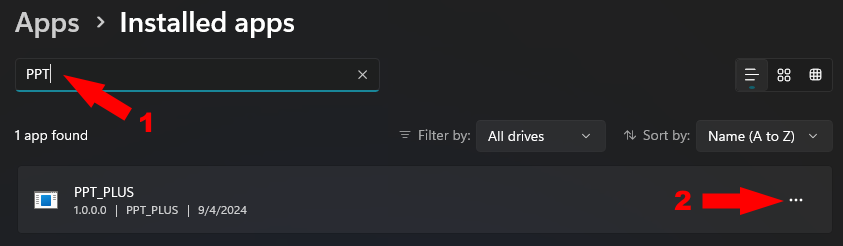
- Search for "PPT" and then click on the three dots.
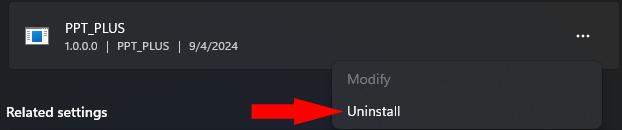
- Click on "Uninstall".
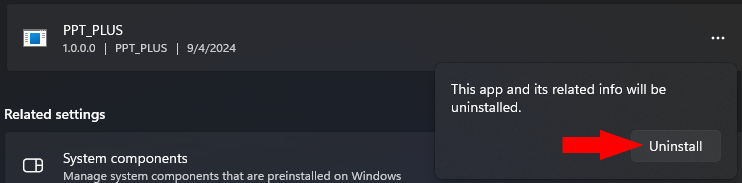
- Click again on "Uninstall".
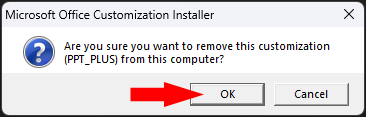
- Click on "OK".
Usage
General
- When you open PowerPoint and open or create a presentation, you should see the “Unify” ribbon in the menu bar. Click on it to use the functions of unify.
- Depending on the selected „Scope“, all available parameters can be filled in or only some of them. If you do not want to unify objects with regard to a particular attribute, simply put a “-” or leave the field blank?
- On the far left is the button to apply your selected parameters to the slides.
- The “Scope” field is located to the right of the “Unify” button. Here you select the elements of the slides to which you want to apply the changes. You can choose between “Selection”, “All”, “Title” and “Footer”. If you select “Selection”, it is necessary that you select the elements to be changed.
- This is followed by the “Language” section. Here you can specify the language. The selection is based on the languages you have installed in PowerPoint.
- The “Font”, “Size” and “Style” fields allow you to change the font, font size and style.
- In the “position and size” area, you can change the position and size of the element to be edited depending on the scope selected. If Scope=All is selected, this function cannot be used. If Scope=Selection is selected, all values of the current position are prefilled when a single element is selected. If several elements are selected, only the identical values are prefilled.

Magic

The magic function can be used to automatically align and format headers, footers and other elements. Simply set the maximum deviation and press the magic wand. The maximum deviation determines the maximum deviation that elements may have so that they are uniformly aligned.
Usecases
- Unify the language on the entire presentation
- Unify the look and Position of titles on all slides
- Unify the look and Position of footers on all slides
- Unify the language, look, position and size of a selection of elements in a vertical column
- Unify the language, look, position and size of a selection of elements in a horizontal row
- Unify the language, look, position and size of a selection of elements in a matrix
- Unify titles and footers and align objects across the entire presentation using the Magic Wand